Create new Posts in Frontend
In the last chapter we created an iOS app which shows all the blogposts. Now let’s see how we use the API to create new blogposts.
Update RestKit setUp
First of all define how RestKit will post BlogPosts and how the response data must be deserialized. To do this add a response and a request descriptor for POST Requests to /blogposts in the setUpRestKit method, which we defined earlier in the AppDelegate:
RKResponseDescriptor* blogPostPostResponse = [RKResponseDescriptor responseDescriptorWithMapping:[BlogPost mapping]
                                                                                method:RKRequestMethodPOST
                                                                           pathPattern:@"/blogposts"
                                                                               keyPath:nil
                                                                           statusCodes:statusCodes];

RKRequestDescriptor* blogPostPostRequest = [RKRequestDescriptor requestDescriptorWithMapping:[[BlogPost mapping] inverseMapping]
                                                                                 objectClass:[BlogPost class]
                                                                                 rootKeyPath:nil
                                                                                      method:RKRequestMethodPOST];
[manager addResponseDescriptorsFromArray:@[blogPostGetResponse, blogPostPostResponse]];
[manager addRequestDescriptor:blogPostPostRequest];
Response Descriptor
To create a new blogpost a BlogPost object must be posted to the /blogposts endpoint. The returned data is the created blogpost in json format. So the response descriptor looks like the response descriptor we used for the GET request, but we don’t configure a keyPath, because the returned blogpost is not nested in data.blogposts.
Request Descriptor
The request descriptor defines that the inverse blogpost mapping is used if a BlogPost object is posted to any endpoint.
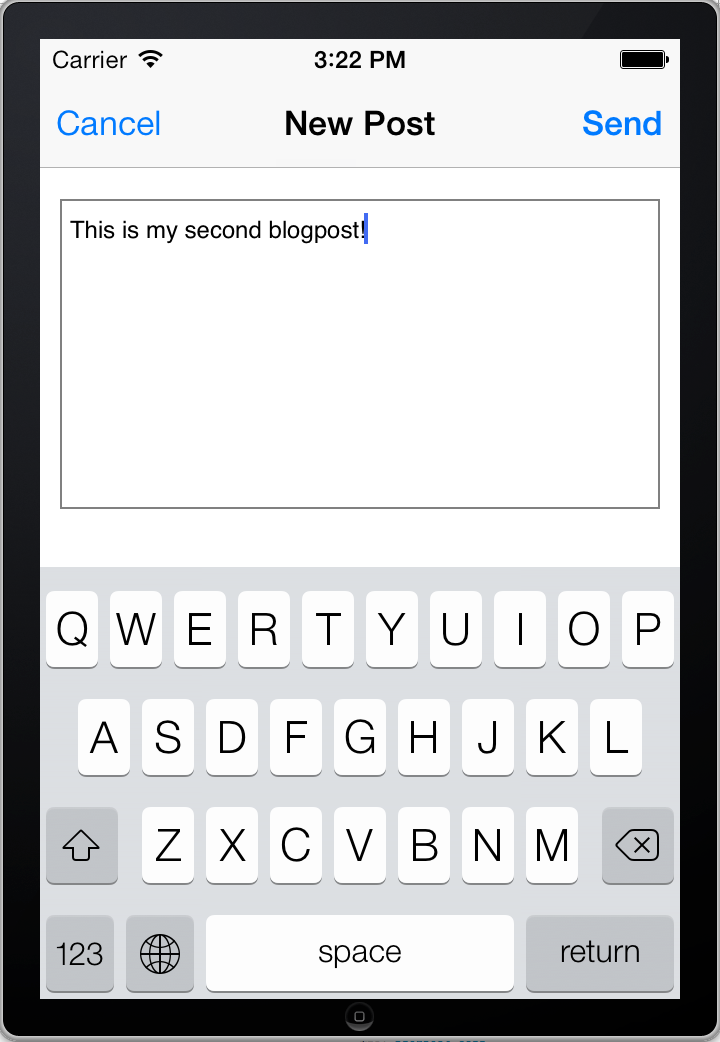
The View
To create a new BlogPost we will show a modal view with an UITextView and a hideable errorLabel.
This is the interface:
#import <UIKit/UIKit.h>

@interface CreateBlogPostView : UIView

@property(nonatomic, strong)UITextView* textView;

-(void)showError:(NSString*)error;
-(void)hideError;

@end
Here you can find a possible implementation for the view.
The View Controller
CreateBlogPostViewController.h:
#import <UIKit/UIKit.h>

@protocol CreateBlogPostDelegate;

@interface CreateBlogPostViewController : UIViewController <UITextViewDelegate>

@property (nonatomic, weak) id<CreateBlogPostDelegate> delegate;

@end

@protocol CreateBlogPostDelegate <NSObject>

- (void)dismissCreateBlogPost;

@end
CreateBlogPostViewController.m:
@interface CreateBlogPostViewController ()

- (void)sendPost:(id)sender;
- (void)dismiss:(id)sender;

@end

@implementation CreateBlogPostViewController

- (id)initWithNibName:(NSString *)nibNameOrNil bundle:(NSBundle *)nibBundleOrNil
{
    self = [super initWithNibName:nibNameOrNil bundle:nibBundleOrNil];
    if (self) {
        // this is necessary for ios 7, else editing would start in the middle of
        // the textView
        self.automaticallyAdjustsScrollViewInsets = NO;
        self.navigationItem.title = @"New Post";
        self.navigationItem.rightBarButtonItem = [[UIBarButtonItem alloc] initWithTitle:@"Send"
                                                                                  style:UIBarButtonItemStyleDone
                                                                                 target:self
                                                                                 action:@selector(sendPost:)];

        self.navigationItem.leftBarButtonItem = [[UIBarButtonItem alloc] initWithTitle:@"Cancel"
                                                                                 style:UIBarButtonItemStylePlain
                                                                                target:self
                                                                                action:@selector(dismiss:)];
        [self.navigationItem.rightBarButtonItem setEnabled:NO];
    }
    return self;
}

- (void)loadView {
    CreateBlogPostView* createBlogPostView = [[CreateBlogPostView alloc] initWithFrame:[[UIScreen mainScreen] applicationFrame]];
    [createBlogPostView.textView setDelegate:self];
    self.view = createBlogPostView;
}

- (void)sendPost:(id)sender {
    BlogPost* post = [[BlogPost alloc] init];
    post.text = [(CreateBlogPostView*)self.view textView].text;
    [[RKObjectManager sharedManager] postObject:post
                                           path:@"/blogposts"
                                     parameters:nil
                                        success:^(RKObjectRequestOperation *operation, RKMappingResult *mappingResult) {
                                            [self dismiss:nil];
    } failure:^(RKObjectRequestOperation *operation, NSError *error) {
        [(CreateBlogPostView*)self.view showError:@"An error occured, please try again later."];
    }];

}

-(void)textViewDidChange:(UITextView *)textView {
    [self.navigationItem.rightBarButtonItem setEnabled:textView.text.length > 0];
}

- (void)dismiss:(id)sender {
    [self.delegate dismissCreateBlogPost];
}

@end
CreateBlogPostDelegate
Because the CreateBlogPostViewController will be presented modal, we define an interface with a method to dismiss the controller. The delegate has to implement that.
Initialization
The initialization code just adds two buttons to the navigation bar. We disable the Send button because the textView is empty in the beginning and we don’t want the user to send an empty post.
Load View
The loadView initializes the view and sets the controller itself as the textViews delegate, so the controller realizes if the text changes and is able to enable the sendbutton, if the textView is not empty anymore (textViewDidChange).
Send Post
Within the sendPost method a BlogPost is created and the textViews’s text is assigned as a text property. Then the newly created object is sent to the /blogposts endpoint. If something goes wrong, the views showError: method is used to show an error message, else the controller is dismissed.
Present the ViewController
Open the TimeLineViewController and add two methods to present and dismiss the controller:
- (void)createNewBlogPost:(id)sender {
    CreateBlogPostViewController* blogPostController = [[CreateBlogPostViewController alloc] initWithNibName:nil bundle:nil];
    [blogPostController setDelegate:self];
    UINavigationController* blogPostNavigationController = [[UINavigationController alloc] initWithRootViewController:blogPostController];
    [self presentViewController:blogPostNavigationController animated:YES completion:nil];
}

- (void)dismissCreateBlogPost {
    [self refresh:nil];
    [self dismissViewControllerAnimated:YES completion:nil];
}
Also add an UIBarButton to the navigationItem:
self.navigationItem.rightBarButtonItem = [[UIBarButtonItem alloc] initWithTitle:@"New Post"
                                                                          style:UIBarButtonItemStylePlain
                                                                         target:self
                                                                         action:@selector(createNewBlogPost:)];